May 272011
 

Sometimes you just nail it.

Last weekend’s IPA brewday was one of my best ones yet. All of the water volume data I recorded last year finally paid off big time – my original gravity came in at 1.072 vs an expected 1.071 – my most accurate brew to date! It wasn’t perfect – my mash efficiency came in 5% low (75% vs the expected 80%), and I was still about a half gallon of wort short at the end (5.5 gallons into the fermentor instead of 6) – but the errors were small and effectively cancelled themselves out. Sometimes the brewing gods smile upon you and two wrongs do make a right!

Fresh hops

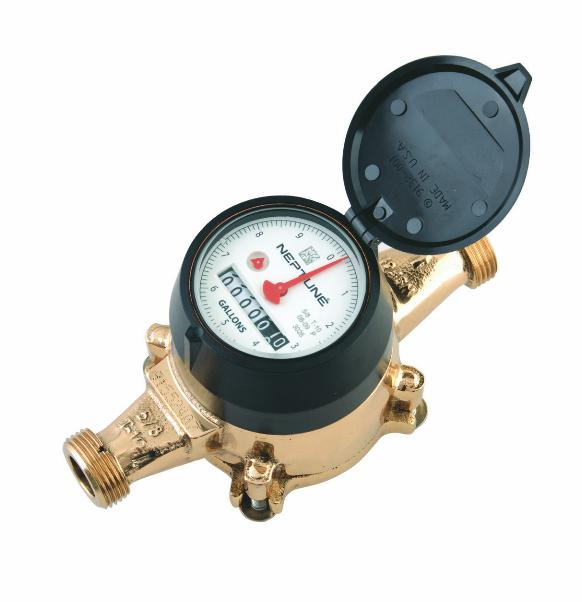
All of the data I took last year was very helpful in estimating my grain absorption and evaporation rates and tun, kettle and cooling losses. My new water meter made measuring water a snap, and I decided to round all measurements to the quarter gallon. This took a lot of the micro-management out of the water side of things, and I’m very pleased with the results. This was my goal all along – the meticulous collection of data leading to the ability to relax and enjoy the results.

The IPA has been gurgling happily in my fermentation fridge at around 65°F – my basement is actually cooler than that, so I’m using this brewing space heater with a dual stage controller. It’s actually a flat pad you can stick to the wall of the fridge – perfect for maintaining ale temps in a cool basement or during the winter.

Today was the first gravity reading and taste test. The gravity is currently at 1.020 vs an expected final of 1.017, so it has a few more days before I crash cool it. The taste – all I can say is WOW! This is one nice IPA, even when it’s warm and flat! It has a really fragrant hop nose and you think it’s going to clobber you, but with its high starting gravity it comes out very well-balanced. Not too thick of a mouthfeel, a nice, strong malt backbone, and sharp, citrusy hop flavor cutting through it all. Even my wife loved it, and she is not a hophead at all.

You can find the recipe here. Also, I’m looking for a name for this beer – any ideas? Leave a comment or hit me up on Twitter.

May 232011
 

The biggest problem I’ve had to date with my brew system is water management. When you do partial boils, this problem never rears its head – you brew a few gallons of wort and just top off with water to get to your final volume. Easy peasy. When you start doing all grain mashes and full boils, however, you need to back into the amount of water to use, taking all sorts of factors into consideration. What is your evaporation rate during the boil? How much water does your grain absorb? What about cooling losses, liquid left in tubes, and deadspaces in kettles and tuns? It’s enough to drive a man mad.

Last year I focused on trying to pin down my exact water usage. First I tried using dipsticks. Then I tried weighing the water. I used various pitchers and containers to measure but the end result was always the same – small inaccuracies in my measurement methods would add up and I would end up missing my targets completely. The only thing consistent about my brewing setup was its inconsistency.

However, all of this data I gathered did help me find a pretty narrow range for things like grain absorption and evaporation rates. I was getting very close to the answer – now I just needed an accurate way of measuring the water.
 

Neptune T-10 water meter

Neptune T-10 water meter

Meet the Neptune T-10 residential water meter. The T-10 is supposedly optimized for accuracy during low-flow situations, which made it a perfect choice for my brewing applications. I picked this bad boy up from eBay last year, and finally got a chance to hook it up and give it a whirl. The goal was to find a way to hook up the T-10 to my hose spigot in the backyard. If this worked, I would have a way to measure the water I was adding to the system without having to use pitchers, scales, or (insert other time-consuming and frustrating methods here).

I ran off to a large, orange hardware store to look for the fittings I needed. It took two plumbing guys and about 30 minutes to find something that would fit the T-10 – the first few adapters they picked out didn’t seem to thread properly. I finally walked out with two 1″ ball valves, two 1″ to 3/4″ bushings (luckily, I noticed they picked out black pipe and swapped them out for galvanized – black pipe shouldn’t be used for drinking water applications), two garden hose adapters, and a white camper hose rated for potable water.

Fittings for the T-10 water meter

Fittings for the T-10 water meter

I applied a generous wrapping of teflon tape, screwed everything together, and hooked it up to the spigot. Much to my surprise, this Frankenmeter actually worked! I was able to measure out my strike and sparge water in a fraction of the time it used to take me, and some quick tests with a half gallon pitcher showed the accuracy was good enough for my purposes. The only complaint I have is that the odometer-style gauge on the front (which measures 10s of gallons) obscures part of the clock-style gauge that runs around the face of the meter (which measures fractional gallons, and is what I use). A Sharpie and ruler should remedy this easily enough, but it would be nice if I didn’t have to do that.

All hail mighty Neptune!

All hail mighty Neptune!

I view this experiment as a success – not only will the Neptune help me achieve greater accuracy in my measurements, but it is also going to save me a significant amount of time each brewday. It wasn’t cheap ($40 for the meter and $40 for the fittings, although I really only needed one ball valve) but the benefits definitely outweigh the costs.

May 192011
 

Image of many bags of brewing hops

No, not a drug bust...just inventory day

After suffering through the ridiculously harsh winter we just experienced, I am officially opening the 2011 brew season – better late than never. Following an absence from brewing, I have some rituals I go through to get back on track. I go over notes from my last few brews to see what issues I was trying to deal with. I clean my equipment and replace anything that is past its useful life. And I update my inventory.

That last one is a pain. Last year, I accumulated a lot of ingredients I didn’t get a chance to use. I prefer to use fresh ingredients, but as long as the grain has been stored dry and the hops haven’t left the freezer, I figure they’re good to go. I might make an exception when brewing a really delicate style, but since I haven’t gotten into lagers yet, that hasn’t been an issue.

So, I broke out the scale and notebook and spent an hour or so recording what I have on hand. Here, without further ado, is the starting lineup of the 2011 season:

Grain

Ingredient Quantity
Aromatic malt 1.00#
Black Patent malt 0.50#
Crystal 20L malt 2.00#
Crystal 40L malt 3.00#
Crystal 60L malt 1.75#
Crystal 120L malt 1.00#
Chocolate malt 2.00#
Halcyon 2-row pale malt (UK) 44.50#
Munich malt 6.75#
Pale Chocolate malt 1.25#
Pilsner malt (Germany) 22.00#
Special B malt 1.00#
Special Roast malt 1.50#
Victory malt 1.50#
Vienna malt 4.00#
Wheat malt (Germany) 15.00#
White Wheat malt 0.25#
Hops

Ingredient Quantity
Amarillo hops 2.00oz
Cascade hops 4.00oz
Centennial hops 2.00oz
Chinook hops 2.00oz
Citra hops 2.00oz
Cluster hops 2.00oz
Columbus hops 4.00oz
Fuggles hops (whole leaf) 5.00oz
East Kent Goldings hops 1.25oz
Hallertauer Mittelfrueh hops 4.00oz
Magnum hops 2.00oz
Mt. Hood hops 2.00oz
Northern Brewer hops 6.50oz
Pearle hops 3.00oz
Saaz hops 3.00oz
Tettnang hops 8.00oz
Vanguard hops 1.00oz

There you have it – 114.75 pounds of grain and 53.75 ounces of hops. That’s certainly enough to keep me busy. Let’s hear some recipes to help me get rid of this overstock!